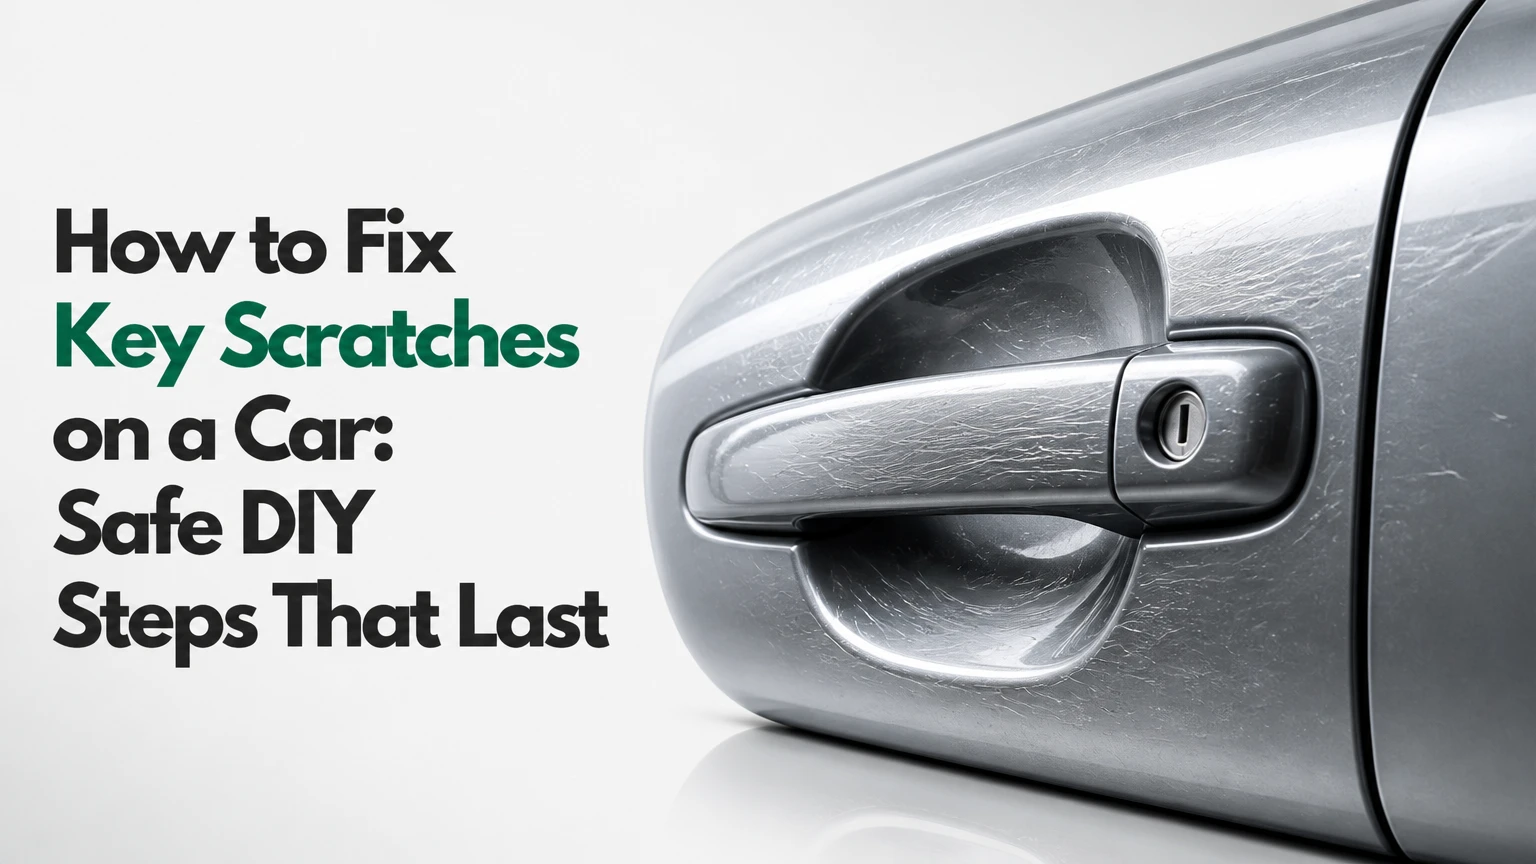
To fix key scratches on a car, first determine whether the damage is limited to the clear coat or has cut through the color layer into primer, metal, or plastic. Polish clear-coat scratches; fill deeper scratches with matched primer, base coat, and clear coat; send deep, wide, rusty, dented, or multi-panel damage to a body shop.
Key Facts at a Glance
- A scratch that disappears when wet is often limited to the clear coat, but water temporarily changes its optical appearance and does not prove the damage is superficial.
- Polishing removes a controlled amount of surrounding clear coat; it cannot replace missing base-coat paint.
- Exposed steel should receive suitable primer and paint promptly because moisture can begin corrosion at the scratch edges.
- Automotive paint-code labels identify the factory color formula, but metallic, pearl, and tri-coat colors may still require blending.
- Touch-up paint is best for corrosion control and visual improvement, not for creating an invisible repair on a large panel.
- Wet sanding can flatten a cured touch-up ridge, but sanding through the surrounding clear coat creates a larger refinishing problem.
Before You Start
A clear-coat correction usually takes 30-90 minutes and costs about $20-$60 in consumables. A touch-up repair normally takes 1-3 hours of active work plus 24-72 hours of curing, while a body-shop panel repair commonly costs $400-$1,500 depending on region, vehicle, finish, and damage.
Tools, materials, and conditions
| Requirement | Typical specification | Why it matters |
|---|---|---|
| Car shampoo | 1-2 ounces in 3-4 gallons of water | Removes road film without adding wax |
| Microfiber towels | 4-6 towels, 300-500 GSM | Separates washing, wiping, and polishing tasks |
| Polishing abrasive | 1-2 ounces of compound and 1 ounce of finishing polish | Cuts and refines clear-coat defects |
| Touch-up materials | OEM base coat, compatible clear coat, primer if needed | Replaces missing paint layers |
| Sandpaper | 2000, 2500, and 3000 grit wet-and-dry sheets | Levels cured paint only when necessary |
| Inspection light | 500-1,000 lumens, neutral white | Reveals scratch depth and sanding haze |
| Working conditions | 60-80°F, dry, shaded, low dust | Improves paint flow and curing consistency |
Wear nitrile gloves and eye protection when handling solvent, primer, compound, or paint. Use automotive products according to their labels, and never spray solvent-based paint near flames, heaters, cigarettes, or an enclosed ignition source.
A scratch is easier to evaluate after washing than before it. Dirt can fill a groove, while paint transfer from a nearby object can look like missing paint even when the factory finish remains intact.
How Deep Is the Scratch?
Scratch depth determines the repair method. A clear-coat scratch can usually be reduced with abrasive polishing, a base-coat scratch requires color, and a scratch showing primer or metal requires corrosion protection before cosmetic finishing.
Automotive refinishing normally has four functional layers. The clear coat provides gloss and UV resistance, the base coat supplies color and metallic or pearl effect, the primer promotes adhesion and seals the substrate, and the metal or plastic panel provides the physical foundation.
Use three checks, not one
- Clean the panel. Wash, rinse, dry, and wipe the affected area with a paint-safe panel wipe or a small amount of isopropyl alcohol. Test solvent on an inconspicuous location first.
- Inspect under angled light. Look at the line from several directions. A white haze may be a clear-coat fracture, while a uniform black or silver line may indicate a deeper layer.
- Use the fingernail test gently. A nail that glides across the line suggests shallow damage; a definite catch indicates a groove. Do not press hard enough to enlarge the defect.
- Wet the surface. If the line becomes far less visible with clean water, the surrounding clear coat may be optically masking the defect. If the color remains absent while wet, paint is probably missing.
| Scratch condition | Likely affected layer | Correct first response | DIY limit |
|---|---|---|---|
| Hazy line, no nail catch | Clear coat | Compound and polish | 1-2 small areas |
| Visible line, slight nail catch | Clear coat or base coat | Test polish, then touch-up if color is missing | Stop if color appears absent |
| Gray, beige, or colored underlayer | Primer or base coat | Clean, prime where required, add color | Small chips and narrow lines |
| Bright silver or rusty brown | Bare steel or aluminum | Protect substrate immediately | Professional repair preferred |
| Black substrate on bumper | Plastic | Use plastic-compatible repair products | Avoid metal primer |
| Dent, crease, torn edge, or several panels | Structural and paint damage | Obtain a body-shop estimate | Do not attempt cosmetic filling alone |
A fingernail test is a screening tool, not a paint-thickness measurement. Modern clear coats vary by manufacturer, repair history, and panel location, so a scratch can catch slightly while remaining polishable, or look shallow while having fractured deeply.
Which Repair Path Fits the Damage?
Polishing is the best option for intact clear coat, touch-up paint is the practical option for narrow paint loss, and professional refinishing is the correct choice for broad, deep, rusty, dented, or visually prominent damage.
| Repair path | Best damage | Typical DIY cost | Typical professional cost | Typical elapsed time |
|---|---|---|---|---|
| Hand compound and polish | Clear-coat scuff under 12 inches | $15-$40 | $100-$250 | 30-90 minutes |
| Dual-action polishing | Several shallow lines on one panel | $80-$250 equipment | $150-$400 | 1-3 hours |
| Touch-up paint | Narrow base-coat or primer groove | $20-$70 | $100-$250 per panel | 1-3 days |
| SMART or spot repair | Small localized painted area | Usually not practical | $200-$600 | 1-2 days |
| Full panel refinish | Deep or wide damage | Not recommended | $400-$1,500 | 2-5 business days |
A “seamless” hand repair is realistic only when the original clear coat remains continuous and the defect is shallow enough to level without thinning the surrounding finish excessively. Touch-up paint can prevent corrosion and reduce contrast, but a raised edge, color variation, or metallic mismatch may remain visible at close range.
When should you choose a body shop?
Choose a qualified collision or refinishing shop when bare steel is rusty, the scratch crosses a panel edge, the panel is dented, more than one panel is keyed, or the vehicle has a difficult tri-coat or matte finish. A shop can measure paint thickness, repair substrate damage, blend color, and clear the panel under controlled conditions.
Ask whether the quote includes sanding, corrosion treatment, primer, color blending, clear coat, reassembly, and warranty terms. A quote that lists only “paint scratch” may not include hidden edge damage or adjacent-panel blending.
Step 1: Wash and Decontaminate the Panel
Wash the affected panel with car shampoo, rinse thoroughly, and dry it with a clean microfiber towel before touching the scratch with an abrasive. Remove tar, sap, and bonded contamination separately because rubbing contaminated paint can create additional scratches.
Use a dedicated wash mitt and work from the top of the panel downward. A clay bar is optional, not mandatory: use it only when the clean surface feels rough after washing, and lubricate it generously according to the product instructions.
Success checkpoint: The panel feels smooth, looks clean under angled light, and contains no loose grit.
Common mistake: Beginning with compound on a dirty panel. Abrasive particles trapped under the pad can create a larger field of micro-scratches.
Step 2: Mask and Test the Least Aggressive Method
Mask adjacent trim, rubber seals, panel gaps, and textured plastic with automotive masking tape. Select a test spot roughly 4 by 4 inches beside the most representative part of the scratch, then use the least aggressive product that might work.
Start with finishing polish on a soft foam or microfiber applicator. If the line remains, move to a moderate compound, but do not jump immediately to heavy-cut polish or sandpaper.
Success checkpoint: The test area is cleaner and glossier, and the scratch has reduced without a dull halo.
Common mistake: Testing on the most visible section first. A small inconspicuous test area limits the consequences of an overly aggressive compound or pad.
Step 3: Decide Whether Polishing Is Safe
Polish a scratch only when the color remains present and the groove does not expose primer, metal, or plastic. Stop polishing when the defect remains sharply defined after two or three controlled passes, because continued cutting removes clear coat without replacing the missing layer.
A useful hand-polishing pass is about 30-45 seconds over a small area with moderate pressure, followed by a wipe and inspection. With a dual-action polisher, use a low-to-medium speed recommended by the machine and product maker, keep the pad moving, and check panel temperature frequently.
Success checkpoint: The defect is visibly softened after the test area, with no expanding haze or hot surface.
Common mistake: Polishing one point until the panel feels hot. Clear-coat burn-through can expose color or primer and turn a small scratch into a repaint.
Step 4: Compound the Clear Coat
Apply a small, coin-sized amount of compound to the applicator rather than spreading a large wet layer across the panel. Work across the scratch and then along it using overlapping passes, because a single direction does not remove all surrounding defects evenly.
Wipe residue with a clean microfiber towel before judging the result. Repeat once if necessary, but inspect the boundary of the correction after each cycle.
Success checkpoint: The scratch no longer catches a fingernail and the corrected area has only mild compound haze.
Common mistake: Expecting compound to restore missing pigment. Abrasive polish levels surrounding clear coat; it cannot manufacture the vehicle’s color layer.
Step 5: Refine, Inspect, and Protect
Apply finishing polish with a clean soft pad to remove compound haze and restore optical clarity. Inspect the panel in direct shade and angled light, because bright sun can hide fine haze while a diffuse inspection lamp can reveal it.
Protect the corrected paint with a compatible sealant or wax after the surface is clean and dry. Follow the product’s cure time, and avoid aggressive washing for the period stated on its label.
Success checkpoint: Gloss and color look consistent from several angles, and no gray sanding-like haze remains.
Common mistake: Applying protection over residue. Sealant can lock in oily polishing film and make the scratch appear temporarily repaired when the defect is still visible.
Step 6: Find the Correct Paint Code
Find the vehicle’s paint-code label in the driver-door jamb, engine compartment, trunk area, glove box, or owner documentation. Do not order paint from the vehicle’s year, make, and model alone, because manufacturers may use multiple colors, revisions, and finish variants on the same model.
An OEM touch-up bottle or a reputable automotive paint supplier is preferable to generic “gloss black” or “silver.” Compare the code and finish type, especially for pearl, metallic, matte, satin, and three-stage colors.
Success checkpoint: The code on the product matches the code on the vehicle label, and the product includes separate base-coat and clear-coat instructions when required.
Common mistake: Treating a color name as a formula. “White” can represent several formulas with different tint, pearl, and flop characteristics.
Step 7: Clean the Groove and Protect Exposed Substrate
Use a lint-free applicator and a small amount of paint-safe panel cleaner or isopropyl alcohol to remove wax and oil from the groove. Do not flood seams, sensors, weather seals, or unprotected electronics with solvent.
If steel is visible, apply a very thin compatible automotive primer with a fine applicator. Aluminum and plastic need different preparation products, so do not assume steel primer will adhere to every substrate.
Success checkpoint: The groove is dry, free of wax, and protected with a thin, even primer film where the instructions require primer.
Common mistake: Applying primer over dampness or rust flakes. The new coating can trap corrosion and later lift from the panel.
Step 8: Add Thin Base-Coat Layers
Shake or mix the touch-up base coat exactly as directed, especially when metallic flakes need to be redistributed. Use a fine artist’s brush, precision applicator, or sharpened toothpick rather than the large brush attached to many bottle caps.
Place thin layers inside the groove and allow the specified flash time between coats. Two or four thin applications are usually easier to control than one heavy application, although the correct number depends on pigment opacity and the product.
Success checkpoint: The scratch is filled close to the surrounding color without a thick bead spilling onto intact paint.
Common mistake: Overfilling with color. A large mound creates a visible ridge and makes later leveling more difficult.
Step 9: Apply Clear Coat and Allow Full Cure
Apply clear coat only after the base coat has flashed or cured according to the manufacturer’s instructions. Keep the clear coat confined to the repair area where possible, and build it gradually rather than creating a broad wet pool on the panel.
Touch-up products differ substantially. Some are one-step paints, while others require a separate clear coat and longer cure. Follow the bottle’s instructions over generic online timing, particularly in temperatures below 60°F or above 80°F.
Success checkpoint: The repaired line is sealed, stable, and no longer tacky when the stated cure window has elapsed.
Common mistake: Leveling the repair after only a few hours. Soft clear coat can smear, shrink, or pull from the groove under sandpaper.
Step 10: Level the Ridge Only When Necessary
Wet-sand a cured raised ridge only when the repair is substantially hardened and the surrounding paint is thick enough to tolerate leveling. Use a small rigid sanding block, abundant clean soapy water, and a narrow controlled motion; never wrap paper around a fingertip.
Start with the finest grit that can address the ridge, often 2500 or 3000 grit. Stop repeatedly to wipe and inspect. If the ridge is not leveling, adding more pressure is not a safe substitute for more cure time.
Success checkpoint: The repair feels nearly flush when checked with a clean fingertip, without a broad dull patch around it.
Common mistake: Sanding the entire scratch line aggressively. The block can cut through surrounding clear coat faster than the touch-up paint ridge disappears.
Step 11: Restore Gloss and Protect the Repair
Use compound to remove the very fine sanding haze, then use finishing polish to restore gloss. Hand polishing is safer for a tiny touch-up, while a dual-action machine can refine a larger area with controlled pressure and frequent inspection.
Apply sealant or wax after the finish is clean. Ceramic coating does not hide a deep groove, correct color mismatch, or replace missing clear coat, so paint repair must precede long-term protection.
Success checkpoint: The repaired area has consistent gloss and the edge is visible only at close inspection, if the color and application were well matched.
Common mistake: Chasing an invisible result on a metallic or pearl panel. Light distribution changes with viewing angle, and a small hand-applied patch may never match a professionally blended panel.
Common Mistakes and How to Fix Them
| Failure mode | Likely cause | Recovery |
|---|---|---|
| Scratch looks dull after polishing | Compound haze or excessive local cutting | Refine with finishing polish; stop if color is exposed |
| Touch-up paint is too dark | Wrong code, heavy application, or poorly mixed metallic | Verify code, remix, and test a thin layer |
| Raised paint ridge remains | Insufficient cure or overfilled groove | Wait longer, then level cautiously with a block |
| Paint peels from the groove | Wax, oil, moisture, or incompatible primer | Remove loose coating, clean, dry, and reapply |
| Brown discoloration appears | Steel corrosion beneath the repair | Remove corrosion and obtain professional treatment |
| Scratch has a visible shadow | Paint shrank during cure or groove remains deep | Add a thin layer, recure fully, then level and polish |
Three practitioner rules prevent most failed repairs. First, a small test spot is more valuable than an expensive correction kit because it reveals whether the defect is paint loss or surface transfer. Second, thin coats control color better than thick coats, even when thin coats require more elapsed time. Third, stopping early preserves the surrounding clear coat, which is usually more valuable than gaining a small cosmetic improvement.
Situational Repairs and Alternatives
What if the scratch is on a plastic bumper?
A plastic bumper often shows black, gray, or dark substrate after paint loss. Clean it with a plastic-safe cleaner, use an adhesion promoter or plastic-compatible primer where specified, and select a bumper repair or refinishing process rather than a steel-panel primer system.
Bumper corners also flex. A brittle filler or incompatible coating may crack after a minor impact, so large or torn bumper damage belongs with a body shop.
What if the scratch crosses two panels?
Treat a scratch crossing a door and fender as a likely blending job rather than two isolated touch-ups. Panel gaps, different viewing angles, and changing light make a narrow repair conspicuous, especially on metallic silver, pearl white, and tri-coat finishes.
Photograph the damage before cleaning if vandalism is suspected. Multiple long lines across several panels may justify an insurance claim after comparing the deductible with the expected repair cost.
What if the car is leased or valuable?
For a lease return, ask the leasing company for its wear-and-use standard before repairing. A poor touch-up with a visible ridge can be less acceptable than a documented professional repair, while a shallow clear-coat mark may qualify as normal wear under some contracts.
For a collector vehicle, original paint preservation matters more than a quick cosmetic disguise. Use a paint-thickness gauge or consult a restoration professional before compounding, sanding, or repainting an original panel.
How Much Does Keyed-Car Repair Cost?
Typical costs range from $15-$40 for hand-polishing supplies, $20-$70 for a touch-up kit, and $400-$1,500 for professional refinishing of one panel. Actual pricing depends on damage length, panel size, paint complexity, local labor rates, corrosion, dents, blending, and whether trim must be removed.
| Scenario | Typical material or repair price | Active time | Best decision |
|---|---|---|---|
| 6-inch clear-coat line | $15-$40 | 30-60 minutes | DIY polish |
| 12-inch narrow line into color | $25-$70 | 1-3 hours | DIY touch-up if inconspicuous |
| Bare steel with early surface rust | $50-$150 DIY materials | 2-4 hours plus cure | Professional preferred |
| One dented metallic door | $600-$1,500 shop repair | 2-5 business days | Body-shop refinishing |
| Three keyed panels | $1,200-$4,000 typical combined quote | 3-10 business days | Compare insurance claim |
| Small bumper scuff | $200-$600 professional repair | 1-2 days | Mobile or body-shop repair |
Insurance coverage varies by policy. Comprehensive coverage often includes vandalism, but the deductible, claim history, local rules, and insurer process determine whether filing makes financial sense. Obtain a written estimate before opening a claim, and do not wash away evidence if a police report or insurer inspection may be required.
When Is DIY Repair a Bad Idea?
DIY repair is a poor choice when the panel has rust, a dent, sharp metal edges, bubbling paint, a matte finish, a factory ceramic-clear system, or a scratch wider than a narrow touch-up line. DIY work is also risky when the vehicle will soon undergo a lease inspection or when color consistency matters at normal viewing distance.
A repair can be mechanically sound yet visually imperfect. Touch-up paint may seal the substrate and reduce contrast without matching the factory spray pattern, metallic orientation, clear-coat texture, or blend boundary.
FAQ
Can toothpaste remove a key scratch from a car?
Toothpaste is not a reliable automotive paint-correction product. Mild toothpaste may contain fine abrasives, but its particle size, lubricity, and residue are not designed for clear coat, so it can create haze or provide only temporary visual improvement. Use a formulated automotive polish on a test spot instead.
Will WD-40 hide a keyed-car scratch?
WD-40 can temporarily darken a scratch or loosen transferred material, but it does not replace missing paint or repair clear-coat damage. Clean the panel afterward with car shampoo and diagnose the actual depth before polishing or applying touch-up paint.
Should I use a scratch-removal pen?
A scratch-removal pen can help with a very narrow clear-coat mark if its abrasive or coating system matches the defect, but many pens merely deposit a temporary film. Verify whether the product removes material, fills the groove, or applies a protective coating before relying on it for repair.
How long should touch-up paint dry before washing?
Follow the product label, but a typical touch-up repair needs at least 24 hours before gentle washing and 48-72 hours before aggressive polishing or machine correction. Cool, humid conditions extend curing time, and a surface that feels dry may remain soft underneath.
Does a deep car scratch always need a complete repaint?
A deep car scratch does not always require a complete vehicle repaint, but it may require a complete panel refinish or a controlled spot repair. Professional technicians choose between localized repair, blending, and full-panel clear coat based on damage width, location, color complexity, and substrate condition.
Can a car scratch be repaired without sanding?
A clear-coat scratch can often be corrected without sanding by using compound and polish. Deeper touch-up repairs may not need sanding either, but leveling a cured ridge usually requires controlled wet sanding. Sanding is optional for some repairs and dangerous when used before the paint has hardened.
The Bottom Line
The safest way to fix key scratches on a car is to match the repair to the deepest damaged layer. Wash and test-polish clear-coat marks, use correctly coded primer, base coat, and clear coat for narrow deeper grooves, and choose professional panel refinishing for rust, dents, multiple panels, difficult finishes, or a factory-level result. Preserve surrounding clear coat by testing first and stopping when the defect exceeds the limits of polishing.